
Ice Dams On Your Roof: When, Why, What to Do?
Ice dams are an annoying and generally rare problem in most of Ohio. But occasionally, and recently, we have a major snow that can lead to ice dams. Three key features are needed for an ice dam to form on your roof: cold air, warm air, and a substantial amount of snow.
How do ice dams form? Ice dams form when you have a significant amount of snow on a roof combined with the local temperature alternating between above freezing and below freezing. With enough snow, a thermal gradient forms in which the snow touching the roof gets warm enough to melt (mainly from heat inside your home—another reason to insulate the attic!) and runs down the roof under the remaining snow layer. The top layer of snow acts as an insulation layer that allows the water to stay liquid until it is exposed.
As the snow melt water is exposed at the edge of the roof, it refreezes. You can think of an ice dam as a large, long, horizontal icicle. As the ice gets thicker, it will begin pooling snow melt water behind it. If your roof is a traditional shingle roof, this means water will rise up and under the shingles and can slowly move into your home.

Ice dams form when heat from your home melts snow in contact with your roof deck, while the snow on top of the melt stays frozen.
When the snow melt water moves pools behind an ice dam, it inevitably seeps into your home, you may observe signs of water intrusion, such as a wet spot staining on ceilings and walls. Additionally, you may notice water leaking in from your windows that has come down the inside of your walls. Ice dams cause moisture to enter slowly. Some of it, you will never see as it will dry up on it’s own. If left over time, mold and mildew will form and impact your home’s air quality.
Generally speaking, once the ice dams are remedied, those leaks won’t reappear. Just keep an eye on those spots during the next rain for any of the leaks returning.
Depending on the geographic location, your roof may have different construction practices. In colder climate zones builders take steps to prevent ice dams. The insulation amount in the attic changes, ice barriers are added under your shingles, and in some instances there may even be a de-icing cable installed to prevent ice from building up on the roof’s edges.
If you have an ice dam, what should you do? You have a couple of common options to remedy.
First is mechanical removal. I don’t personally recommend anyone get on their roof or even a ladder. It’s best to hire someone to do this unless your are completely comfortable with this type of work. It’s helpful to start by removing the remaining snow in the area, then with a rubber mallet/hammer/garden tool, carefully fracture and dislodge the ice. You do not want to damage your shingles though! Be careful not to peel off stuck on ice chunks as this can take parts of your shingles with it.
The second option is to place ice melt in trouble spots. Warning, make sure you are using an ice melt that is safe for your roof, such as calcium chloride. When using ice melt, you can buy it in tablet form, or some choose to stuff some nylon pantyhose full of the melt product and lay it on the roof. This may seem a safer option than trying to clear the ice yourself, but throwing ice melt on your roof from the ground can be tedious and ineffective. The ice melt needs to be concentrated and purposefully placed to be effective. You will likely still need to access the roof or climb a ladder to roof height. Your goal is to make enough channels in the ice to allow water to run between.
And the final and best option is to add more insulation to your home before the next major winter weather event. If the heat from inside never reaches your roof deck then water never forms to run down the roof and freeze into an ice dam.
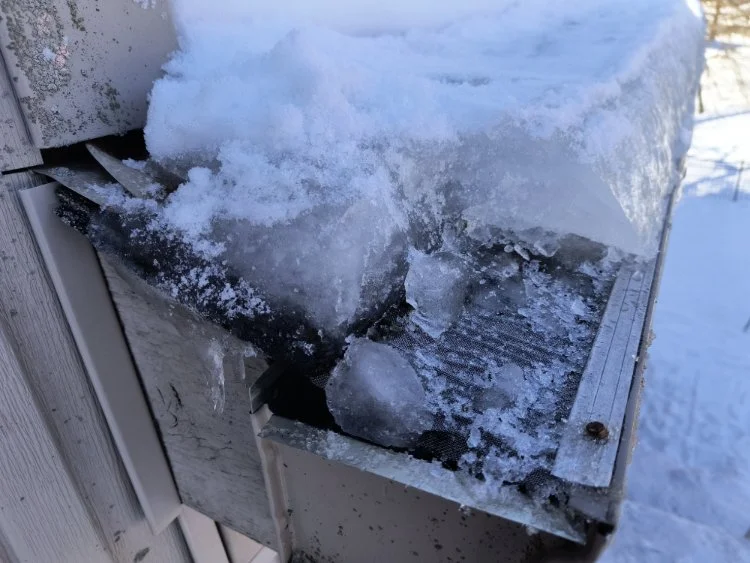
A nice and thick ice dam on top of a leaf guarded gutter.